Welcome to Anne's sewing blog!

I started this blog in 2012 in an attempt to keep better track of all the little things I make. I have found it fun to 'catalog' what I make so I'll continue to post my finished projects as they appear.

Its mostly for my personal use, but also gives me a way to share cute stuff with my craft-oriented friends and family. Enjoy!

Saturday, June 20, 2015

Fabric Water Bottle Carriers Round 2

I made some fabric water bottle carriers earlier this year.  See this post for those carriers and the story behind them.

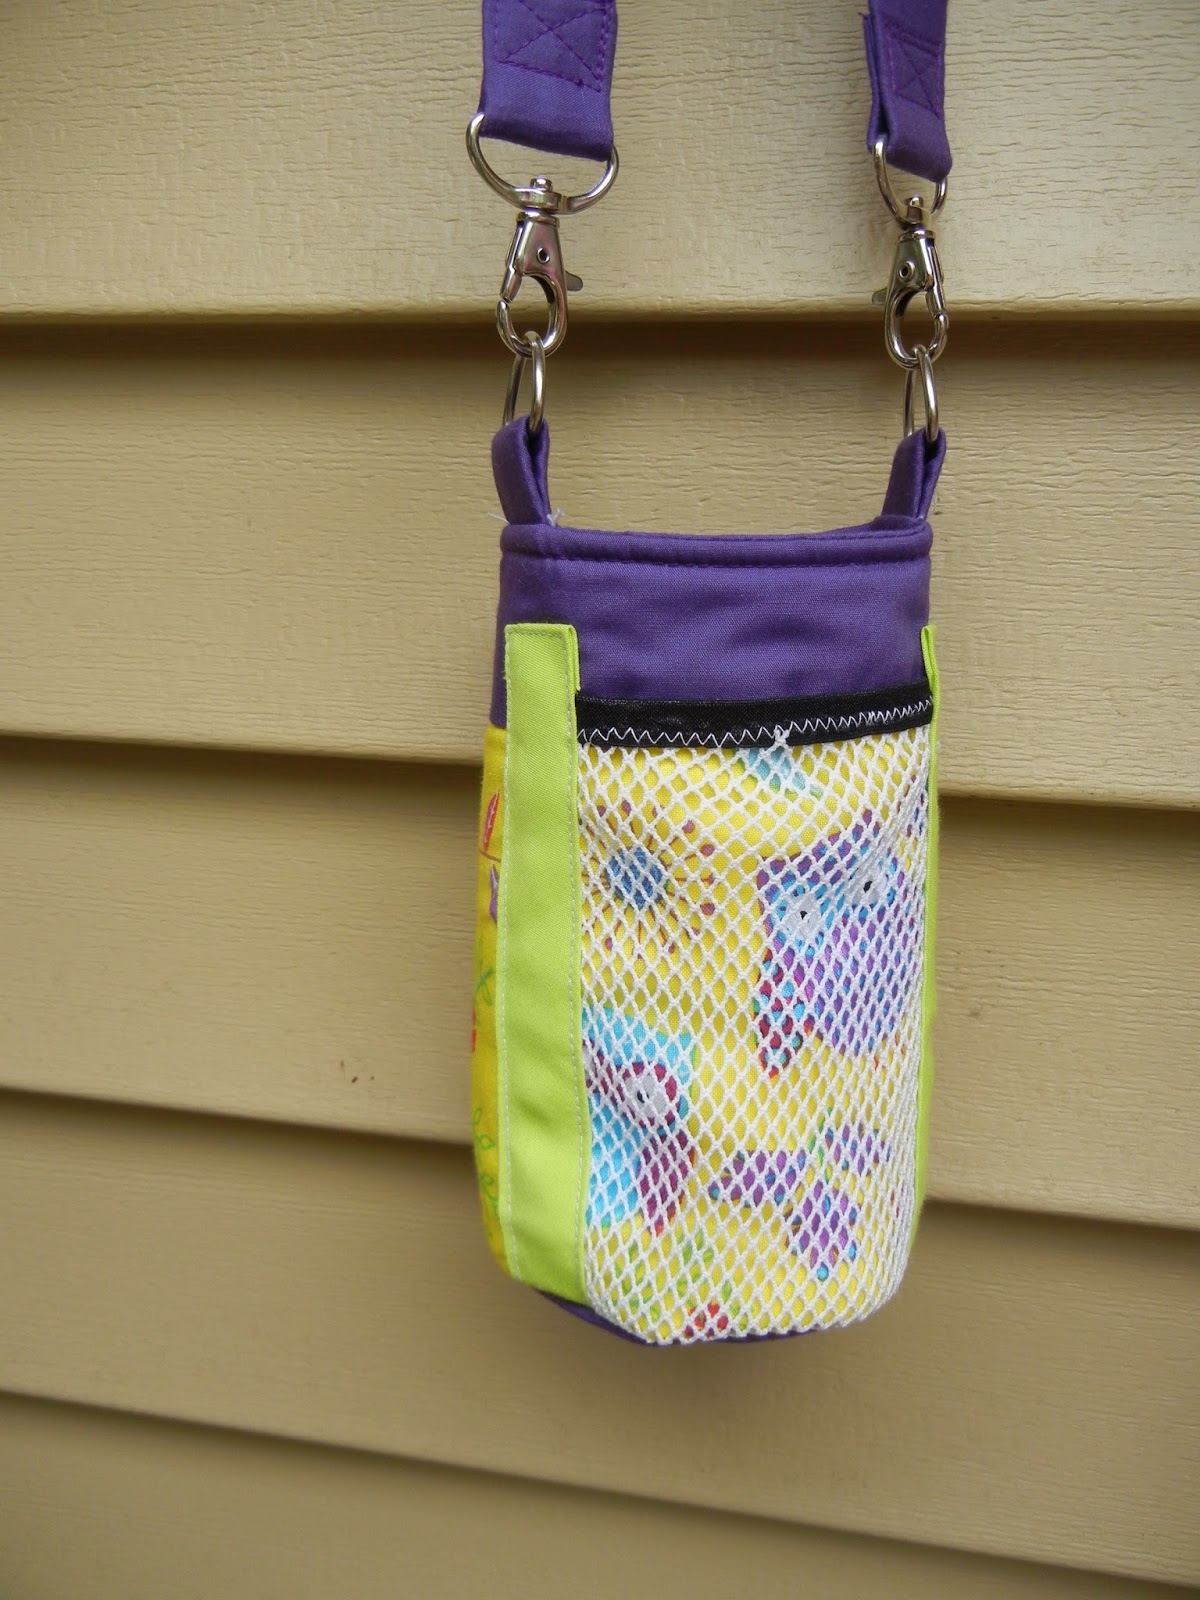
This is my second round of carriers, for us to use around town.  For this batch I added a pocket of stretch mesh to the side for granola bars, sunglasses, treasures picked up along the trail, or anything else small you might like to carry.


The pockets are made from white stretch mesh with a bit of elastic along the top.  I found it very tricky to sew stretchy elastic onto flimsy stretchy mesh.  I needed stabilizer but didn't have any on hand, so I just did the best I could and am choosing to ignore the wonky stitches.  I attached the pocket to the carrier itself by stitching over the long edges with bias tape.  I feel like the whole pocket is functional, but a bit bulky and not-well-finished.  If I make more, I'll definitely use stabilizer, and piece the pocket into the carrier as it is being made rather than this method of constructing it separately and attaching it at the end.  All that being said, the pocket is super handy!


These carriers also got hardware on the straps for fun.  The girls think they're cool and like to mess around with the strap clips - the straps have already been removed and used for all kinds of make believe scenarios around the house.    


Here is Photography Assistant Grace ready to go hiking.  In her Rapunzel nightgown.  :) 


Grace's is pink with hearts. 

Leah's is purple with owl fabric (by request, to match her art bag). 


Mine is black and white and simpler - no hardware or pocket.  


We've used them on bike rides and hikes and they're AWESOME.  The girls wear them cross-body on their bikes, freeing up room in their bike baskets for library books or whatnot.  They soak up water bottle condensation when its hot outside, drying out quickly and easily.  If they get spilled on or grungy they can do in the wash without a problem.  Overall, a very handy homemade project.  


Sunday, June 14, 2015

Housewarming Doggy Embroidery

My middle sister bought her first house last month and I stitched this up for a housewarming present.  They have a dog and a cat and she runs her own dog obedience business so pets are a big part of their life and home.  I googled for cute phrases and picked this one.


It is stitched on a linen-like tan fabric with dark brown floss. 
I used outline stitch for the letters and backstitch for the paws.
Then I framed it in a dark brown frame (glass removed).


She told me its in her new kitchen/dining room!
Happy new house!

Wednesday, May 20, 2015

Notebook Organizer / Writing Portfolio / Teacher Gift

This is my other End of The Year Teacher Gift.
I love it and want one for myself, 
which is usually a sign of a good gift.  :)


I practiced with a notebook organizer a few months ago and this one is a combination of that practice run and a few pictures off the internet (notably Gingercake's version).

The front is personalized with the teacher's name hand stitched in white perle cotton.


Adorable ruffle elastic holds it closed.


The elastic is sewn to the back cover and stretches around to keep the organizer shut.
The binding is machine stitched on the outside and hand stitched on the inside. 


Inside are a bunch of pockets.


You could obviously use them for whatever you wanted, but for this gift I filled them with a 5'' x 8'' writing tablet (jazzed up with scrapbook paper to cover the ugly top binding), writing paper (cut from coordinating scrapbook paper), envelopes, stamps, stickers, and a pen (that barely fits in its slot - not quite so snug next time Anne).


I love the modern clean colors and the fact that its made mostly from scraps of my other projects that I've been marathon sewing the last two months.


Construction notes-to-self in case I make it again:
Last time I did the turn-inside-out-through-a-hole-and-topstitch method.  
This time I bound it with a strip of double fold fabric.  
I think they're both fine - one isn't better than the other.  
I interfaced the teal pocket, the back of the grey lining piece, AND the back of the embroidered fabric/batting sandwich.  Then I sewed the layers together (wrong sides together) along the pen pocket and around three sides of the organizer.  Then I slid two rectangles of stiff bag interfacing in the 'pocket' made by each side.  Closed up the 4th side.  Then bound with straight grain double fold 2.5'' binding.  


Cooked up a Batch of Aprons - Housewarming and Teacher Gifts

I made a batch of aprons last week - two adult size and two child size.

One will be given as a housewarming gift later this week (I have no less than four friends/family members moving into new homes this month!) with some home baked goodies.

The other three will be given as a trio to one of our teachers as her end-of-the-year gift.  Not very 'teacher-y' but I've already made this particular teacher a gazillion tote bags (here and here) so I had to get a little creative.  She likes to bake so I thought aprons would work nicely - practical but still a little bit personal.  I can't resist sewing for her two kiddos as well and since aprons stitch up quickly it was an easy add-on to make the gift a bit bigger.

Here are the adult aprons - they're both grey and white chevron with yellow accents.  Only the buttons are different.   I used this pattern for the overall size and shape of the apron and then added my own details (the ruffle at the bottom, the faux placket with buttons, and using ribbon for the ties).


Two styles of buttons.  


The ruffle I made myself.  The costume shop has a ruffler foot for their machines and I really need to invest in one of those for my home machine - they work so slick!  This one was done with three rows of gathering stitches.  Comparing this one to other aprons I've made I think the ruffle could have been a bit bigger/longer but I think this is alright.   It adds a little fun to the bottom.  


All the aprons are fully lined so they are nice and sturdy and wash really well.  
I've been using mine weekly for years.  


These are the kid's aprons.  


The girl's gets a ruffle and a bow.  


Clearly no ruffle needed for the boy's, but a handy pocket will do nicely to stow away a matchbox car or rock or whatever it is boys stick in their pockets.  


So this is the trio.  It gives you a sense of their sizes as well.  


I've made aprons many times before. 
Check them out here, here, and here.  
They make great useful gifts. 


Tuesday, May 19, 2015

Teal Pretty Dresses for the Girls

The girls got new dresses for the wedding. 


Aren't they cute little blockheads?  (Sorry - couldn't resist!)  

These dresses were both fun and fast to make - the best kind.
The fabric is a teal and glittery damask-looking cotton from Hobby Lobby. 

Slightly sweetheart neckline: 


Large sparkly teal buttons up the back:


A shiny teal sash with 'diamond bling' that (in everyone's opinion) is the best part of the dress: 


They were super easy to draft and sew.  I drafted the bodice by tweaking their Christmas dress bodices.  I added a little more ease (so they'll fit for more than a blinking month), removed the darts so they are a bit less fitted, changed the neckline, and made them sleeveless so that we could do short sleeves, long sleeves, or no sleeves depending on the weather.   We ended up doing short sleeves for church and no sleeves once they hit the dance floor.  The skirt is a gathered rectangle.   They are both roughly the same size, one is just taller than the other.  


The girls love them, they had fun being twins, and here's hoping they get worn a lot!  


Blue Lace Dress for Me - my Kate Middleton Knock Off

One of my goals for 2015 has been to make myself more church clothes/dresses that fit and I can definitely say I accomplished my goal on this project.

I love pretty much everything Kate Middleton wears.  Her style is so clean, modest, and classic.   This is my Kate Knock Off Dress and I love love love it.


I made it specifically for a wedding we attended recently but it'll get worn to church often.


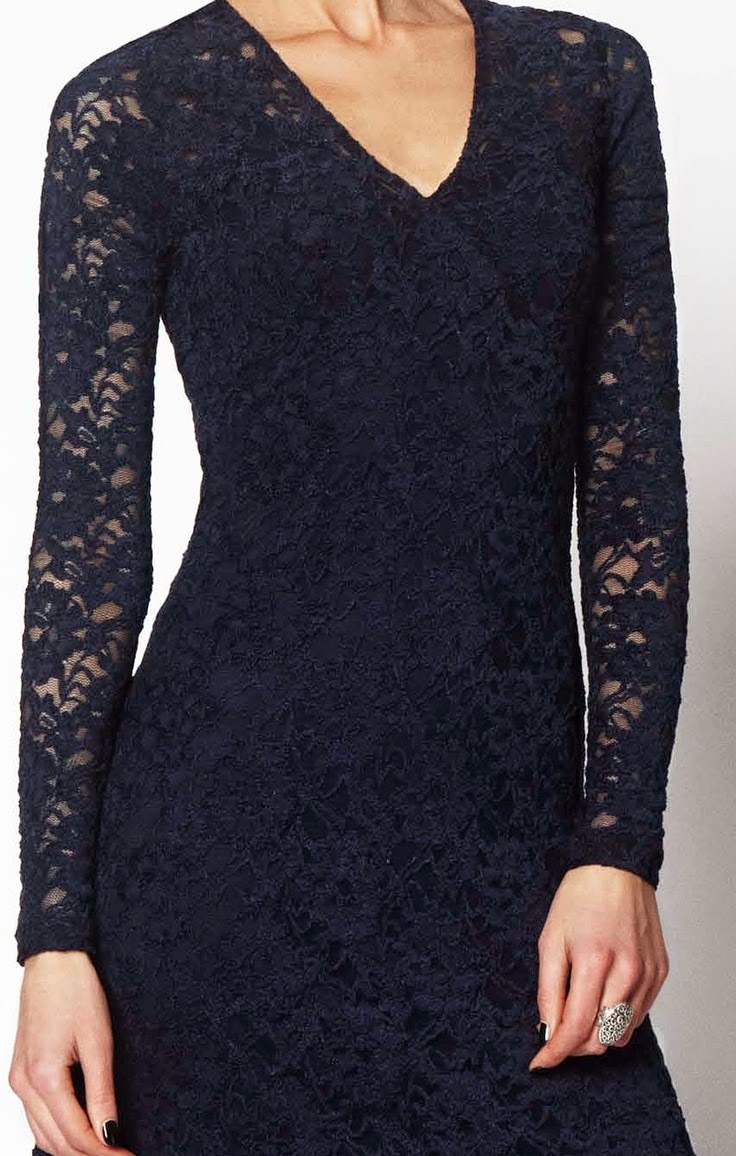
These are some of my Pinterest photos that I used for inspiration.  There were others as well but these captured the shape and the lace overlay look I was going for


The dress is self-drafted from scratch.  Well, not really from scratch because by now I have a standard block that seems to be working for me, but since that original block is from scratch with no commercial pattern help I still count this as a totally original pattern.  My first dress from this block has worn well so I kept the 'bones' of the block and tried to improve on a few of the finer points.

As for drafting and fit, I am pleased with this dress.   It fits well and I spent a lot of time improving the armhole and sleeves with good results.  I now feel like I have a really good armhole and sleeve draft that I can save as 'keepers' and use over and over again.  I love the elbow length sleeves that Kate wears and I think it looks nice on my rectangular body type (I'm not an apple or a pear shape - I'm a popsicle stick).  :)   Other than messing with the sleeves there wasn't anything too complicated in the drafting of this dress - regular side bust darts and back darts on the bodice.

I love the drape of the skirt - just enough body without being poofy.


The neckline is a bit of a high boatneck, nothing fancy.   I usually like a bit more going on around the neckline because I'm pretty small chested and its easy to look very blah up top.  For this dress, however, I really wanted the fabric and the silhouette to shine so I think the boatneck is okay.


There is an invisible zipper in the center back.  I'm pleased to say its actually invisible.  I've gotten much better at those lately.


The belt was made separately and then tacked to the dress at the side seams (mostly so I can't lose it!).  The folds/pleats on the belt are hand tacked in place so it always folds nicely.  It closes in the back with snaps.


The fabric for this dress is a somewhat custom made.  I really wanted a lace and a shiny fabric for underneath in the same color.  Unfortunately all I could find locally (that wasn't white) were really dark, rich, jewel tones and I wanted this dress to be a lighter pastel.  Enter costume shop expertise!  Not mine, mind you, but one of my bosses.  I bought the light dusty blue satin and white lace and he expertly dyed the lace to match the blue.  The color really 'makes' the dress so I am very thankful for his help.  Someday I'll maybe mess around with dying fabric but it wasn't in the cards for this project and I'm so glad he was willing to just do it for me.  :)  This picture shows both fabrics.


This dress is properly lined with the blue satin - here is an interior shot.  Properly lining clothes is another skill I've improved on in the last year or so.  The grey and pink dress is great looking on the outside but the inside is a bit of a mess so that is an obvious improvement - this one is far more comfortable in that regard!


The skirt pieces were treated separately and I hemmed (by machine) the satin a tad shorter than the lace so that you don't really see the satin layer.  This photo is looking from the inside. 


So... there you have it.  My Kate Knock Off that I'm very proud to wear!