Welcome to Anne's sewing blog!

I started this blog in 2012 in an attempt to keep better track of all the little things I make. I have found it fun to 'catalog' what I make so I'll continue to post my finished projects as they appear.

Its mostly for my personal use, but also gives me a way to share cute stuff with my craft-oriented friends and family. Enjoy!

Sunday, June 21, 2015

New Drawstring Backpack for Myself


This project is a little splurge for myself - I used making myself a new bag as incentive for spring cleaning my house.  No cleaning-like-a-madwoman, no new bag.  Worked like a charm, I tell you.  :)

Technically, this bag took three tries to construct.  Trial one was only on paper when I poured over my Pinterest Board of Bags with a sketchpad, trying to design a super fun bag.  I have lots of bags I'd love to make but I kept ending up saying to myself, "This is a great bag but I can't see myself using it in summer."  My summer bag has to be something that can be chucked around at the park, thrown in the pool bag at the last minute, preferably hands-free for bike riding, etc.  Everything I was sketching was too structured, too 'handbag/purse', not enough 'tote/catch-all'.  Then the lightbulb went on - I have an old drawstring backpack that I love.  It is exactly the kind of tote/catch-all/hands-free bag I need for summer.  I'll save the more structured bag for during the school year when I'm off to work and bible study and less outdoorsy places.

I made this one quite a few years ago and used it all. the. time.


Until it started fraying, even.


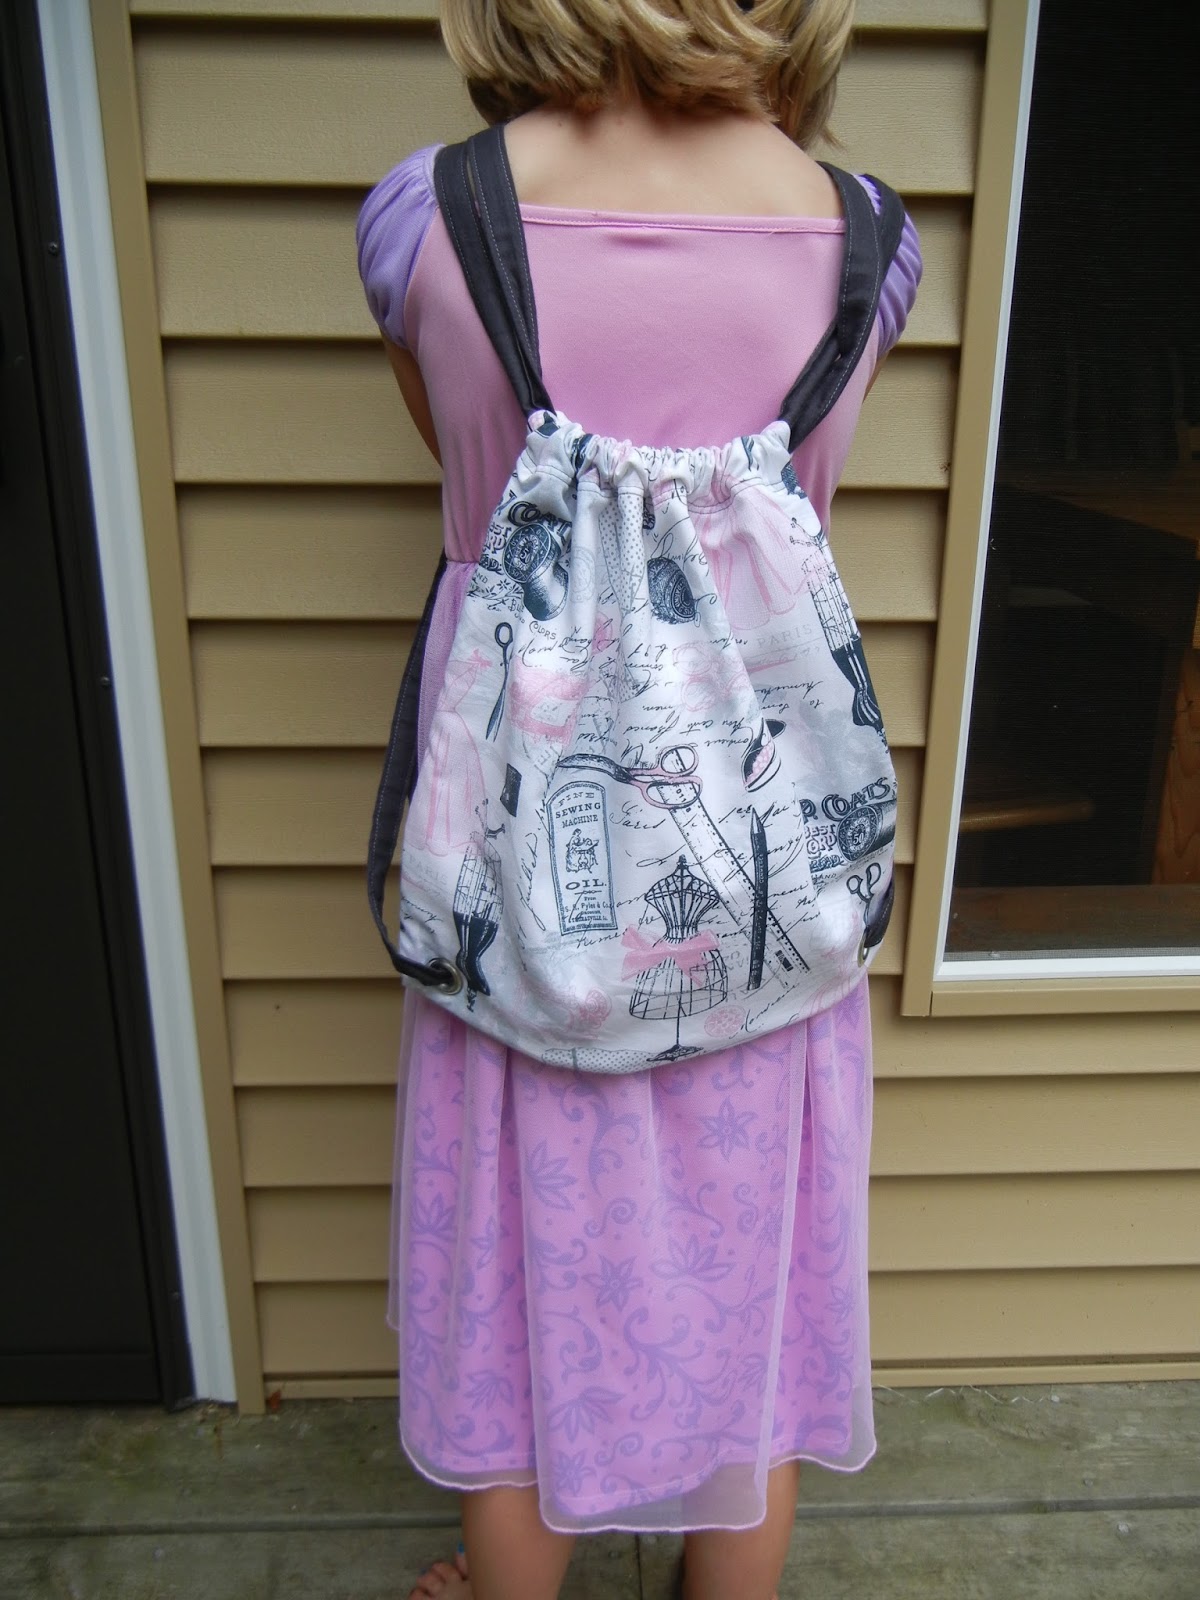
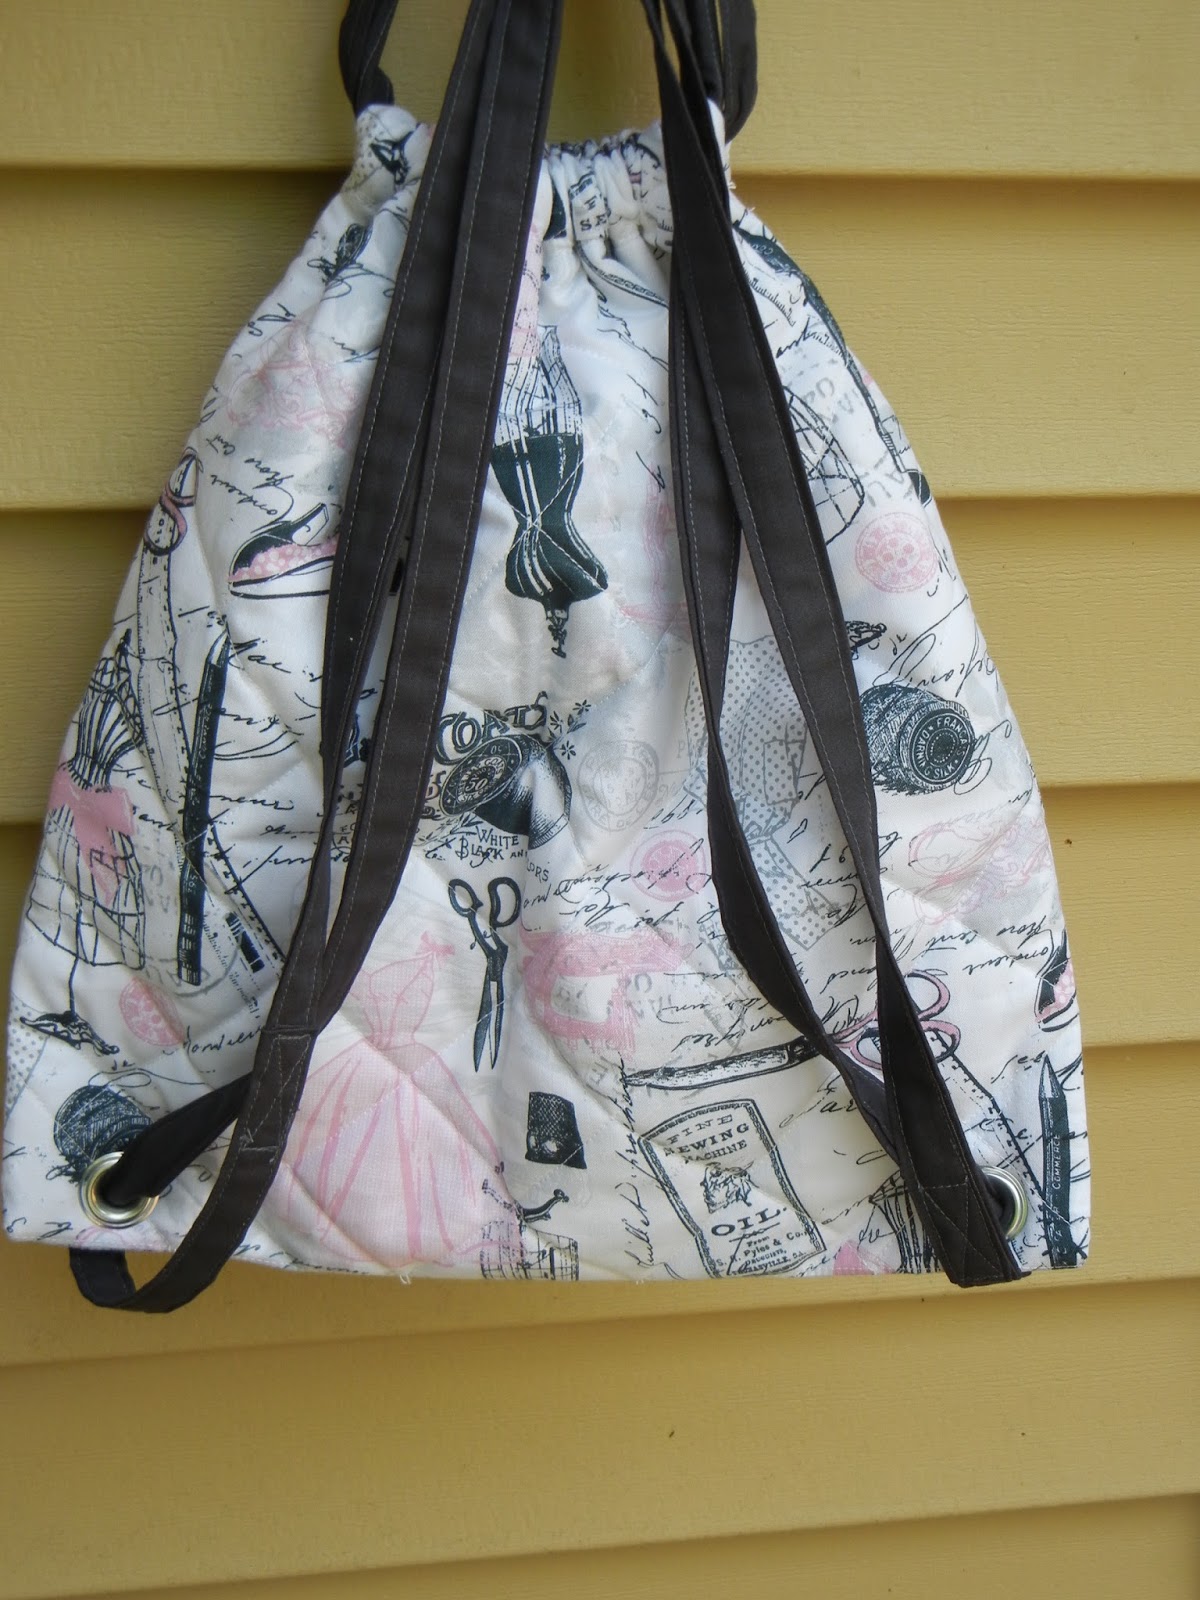
It was cute enough to carry to church, but not so special that it couldn't lay on the grass at the park and the drawstring aspect is super super handy.  So... my new summer bag was going to be a drawstring backpack.  I even had the perfect cute grey and pink vintage dressmaker print fabric for it.

Trials 2 and 3 come because I tried to improve on my previous version and the changes ended up making it worse.  My old bag was two layers of quilting cotton with homemade bias straps.  I thought it would be better/fun to quilt this version so I did.  However, that ends up making the bag far too stiff and hard to cinch the drawstring closed.  Drawstring bags are better floppy and loose - lesson learned.  Long story short, I ended up scrapping the first one I quilted and making a second one from just quilting cotton.  Bummer, but not a tragedy as I had enough fabric and they are super quick to make.

One improvement I did like was using grommets for the bottom strap holder rather than fabric loops.  Grommets are fun and the strap slides through easily.  It does cut into the 'square' of the bag whereas the fabric loops are on the outside, but that doesn't seem to be a big drawback so far.  (You could always make a tab for inserting into the side seam that would allow the grommet to be outside the main square of fabric. )


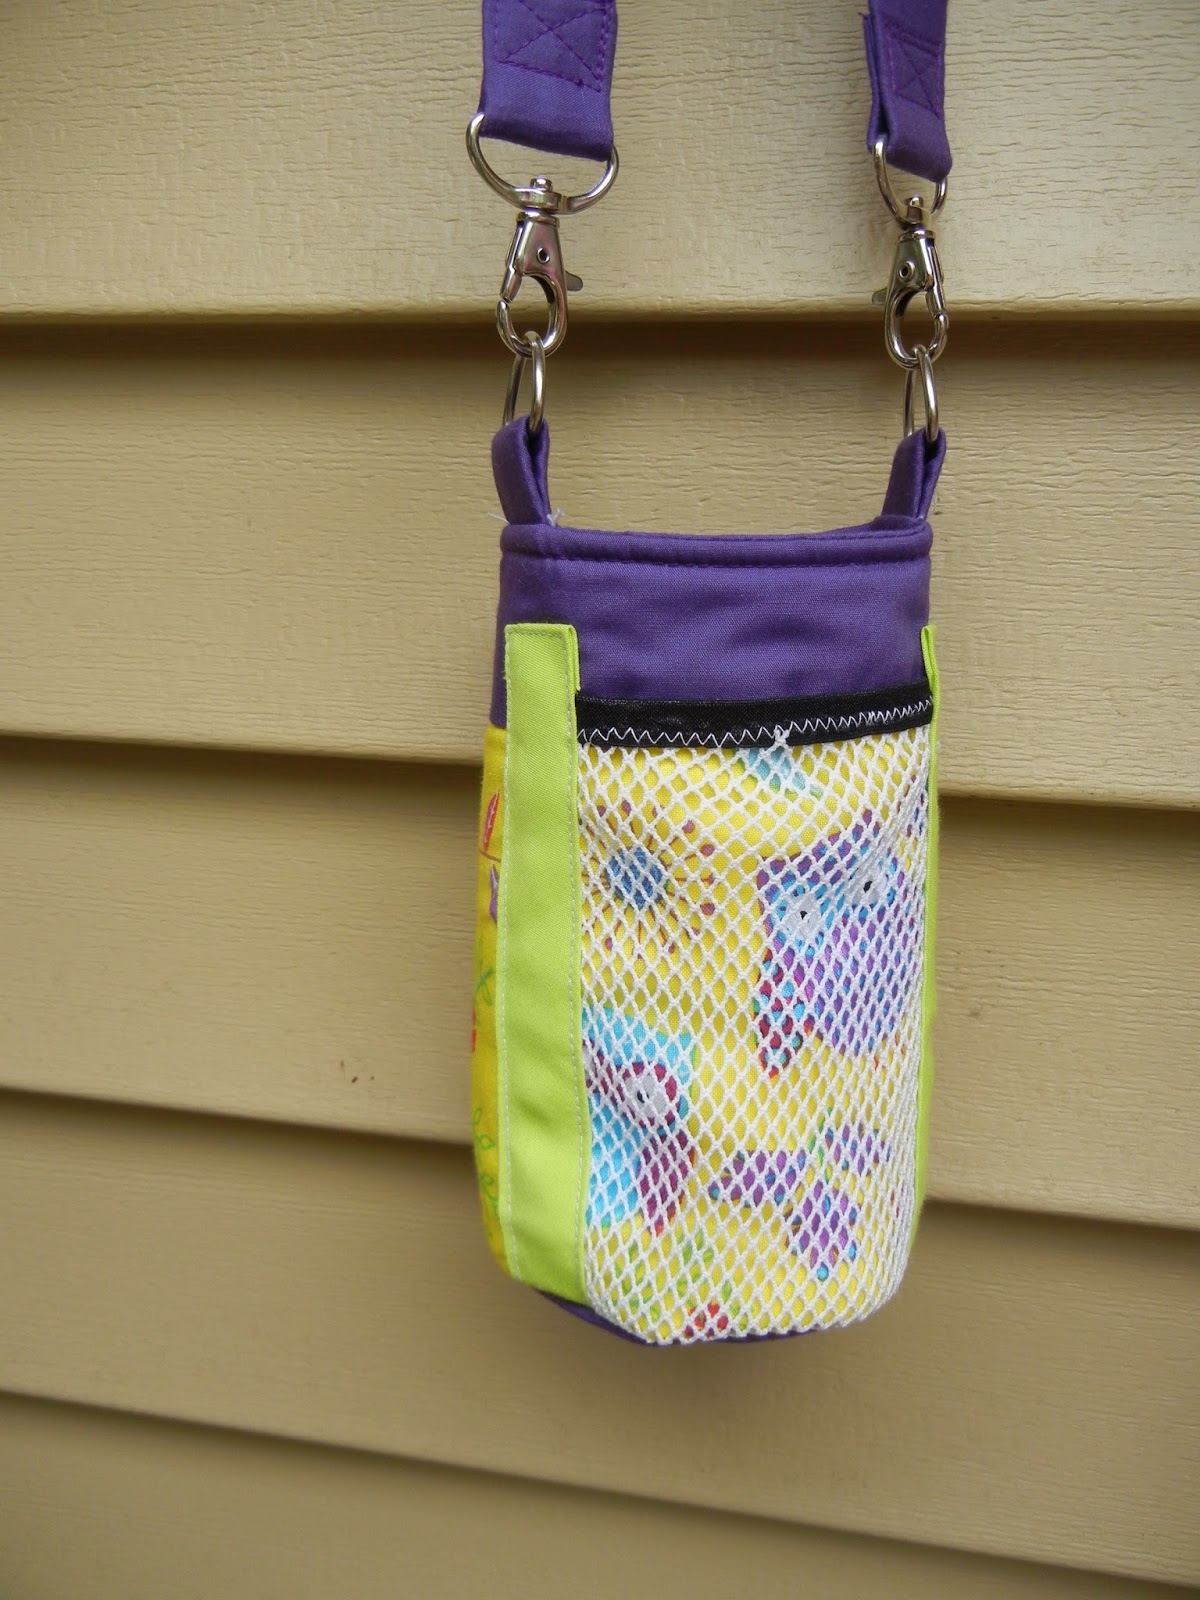
It has one interior pocket for a phone or keys.  


Here are some pictures of the finished bag(s), some of the quilted version, some of the unquilted.  The bags are the same other than the thickness/quilting.  I have since cut up the quilted bag to reuse the interior pocket and straps but some of the pictures were nice so I thought I'd post them anyway.  I'll make the remaining squares of quilted fabric into a zipper pouch at some point.  


So... thats my summer bag.  Its been very useful and fun to carry as a purse.  Hands-free backpacks are definitely wonderful for summer and this one is way cuter than those freebie nylon sporty ones.  I'll take pink dresses and sewing supplies any day!  


Saturday, June 20, 2015

Crochet Shawl Number Two

I've taken a bit of a sewing breather lately and it's been nice.  There were many many sewing projects with deadlines this spring so it has been nice to putter on a few things for myself (or our home) with no pressure as to when they must be finished.

One such project was crocheting another shawl.   I made my first shawl last year sometime and it has gotten tons of use.  I made it for myself (story here) but I hardly ever get to wear it.  As it turns out, it is the perfect cover up for church and the girls take turns wearing it each week.  Great for those pesky short sleeve dresses that are cute but cold first thing in the morning.  One girl or the other usually goes to church wrapped in the shawl instead of a spring jacket and remains cuddled up for most of the church service.  And really, who can blame them?!  Its like snuggling up in a soft blanket!

So... after many weeks of trying to remember who wore it the previous week to avoid arguments as we head out the door to church I decided to just make another one.  Easier said than done, unfortunately, as I made the first one up as I went along.  For the first one I just made a big triangle, trying it on as I went until it seemed big enough.  I wrote down my general stitch pattern but I didn't keep track of increases.  Which I now regret.

This is the second shawl, the one I finished this week. 


White yarn from Michael's, nothing fancy.  I'm not experienced enough to buy fancy yarn.
Despite Leah's pleas for purple, I stuck to goes-with-every-church-dress white.  :)

I used the same stitch/row pattern as the other one, which is a row of treble crochet (US) followed by two rows of single crochet.  One treble, two single, over and over.  I really like the stripe-like subtle look it has.  


This one got a border of single crochet all around the edge, probably 7 rows in all.  


Here it is all wrapped up around Grace.  
(I just realized she has been my photography assistant many random times over the last week or two and in all of them she is wearing her Rapunzel nightgown.  I promise she wears clothes.  Most days.)


Here is where the trouble starts.  
This is both shawls together. 
The second one (on top) is supposed to be smaller because this time I was purposely making it for a kid rather than an adult, but its also supposed to be the same shape as the older one (below).  


I tried and tried, crocheted and ripped and crocheted again, and I just couldn't replicate the overall shape and the nice slope on the sides.  Finally I just gave up and let the wonky edges be - I couldn't bear to rip it out again all the way down to about the 8'' mark where I would have needed to start increasing to make it smooth.  No one will be able to tell when its wrapped around little shoulders in church, right?  Right.   Seeing them side by side, I like the scalloped edges better than the single crochet border.  Maybe I'll add them to the smaller one sometime.    Overall, I give myself about a B-minus  on this project.  It'll work for its intended purpose and it was fun to make (other than the ripping and experimenting with increases part), puttering away on it in the evenings.  But I definitely like my first made-up shawl better than my second made-up-trying-to-match-the-first-made-up shawl. 

Now both girls have nice coverups for church.  I'm still on the lookout for a pattern for myself that would be more of a circular capelet than a triangular shawl.  Until I stumble across that pattern I'll keep puttering around with other crochet things when the mood strikes.


Fabric Water Bottle Carriers Round 2

I made some fabric water bottle carriers earlier this year.  See this post for those carriers and the story behind them.

This is my second round of carriers, for us to use around town.  For this batch I added a pocket of stretch mesh to the side for granola bars, sunglasses, treasures picked up along the trail, or anything else small you might like to carry.


The pockets are made from white stretch mesh with a bit of elastic along the top.  I found it very tricky to sew stretchy elastic onto flimsy stretchy mesh.  I needed stabilizer but didn't have any on hand, so I just did the best I could and am choosing to ignore the wonky stitches.  I attached the pocket to the carrier itself by stitching over the long edges with bias tape.  I feel like the whole pocket is functional, but a bit bulky and not-well-finished.  If I make more, I'll definitely use stabilizer, and piece the pocket into the carrier as it is being made rather than this method of constructing it separately and attaching it at the end.  All that being said, the pocket is super handy!


These carriers also got hardware on the straps for fun.  The girls think they're cool and like to mess around with the strap clips - the straps have already been removed and used for all kinds of make believe scenarios around the house.    


Here is Photography Assistant Grace ready to go hiking.  In her Rapunzel nightgown.  :) 


Grace's is pink with hearts. 

Leah's is purple with owl fabric (by request, to match her art bag). 


Mine is black and white and simpler - no hardware or pocket.  


We've used them on bike rides and hikes and they're AWESOME.  The girls wear them cross-body on their bikes, freeing up room in their bike baskets for library books or whatnot.  They soak up water bottle condensation when its hot outside, drying out quickly and easily.  If they get spilled on or grungy they can do in the wash without a problem.  Overall, a very handy homemade project.  


Sunday, June 14, 2015

Housewarming Doggy Embroidery

My middle sister bought her first house last month and I stitched this up for a housewarming present.  They have a dog and a cat and she runs her own dog obedience business so pets are a big part of their life and home.  I googled for cute phrases and picked this one.


It is stitched on a linen-like tan fabric with dark brown floss. 
I used outline stitch for the letters and backstitch for the paws.
Then I framed it in a dark brown frame (glass removed).


She told me its in her new kitchen/dining room!
Happy new house!